 Skip to content
Introduction: Boxer shorts are not just a wardrobe staple; they can also be a fun and rewarding DIY project. By making your own boxer shorts, you have the freedom to choose your favourite fabrics, customise the fit, and add personal touches that reflect your unique style. In this step-by-step guide, we'll take you through the process of creating your very own pair of boxer shorts from scratch. Get ready to unleash your creativity and embrace the joy of handmade fashion!
Step 1: Gather Your Materials To get started, gather the following materials:
- Fabric of your choice (cotton, flannel, or any lightweight woven fabric)
- Elastic band (1-1.5 inches wide)
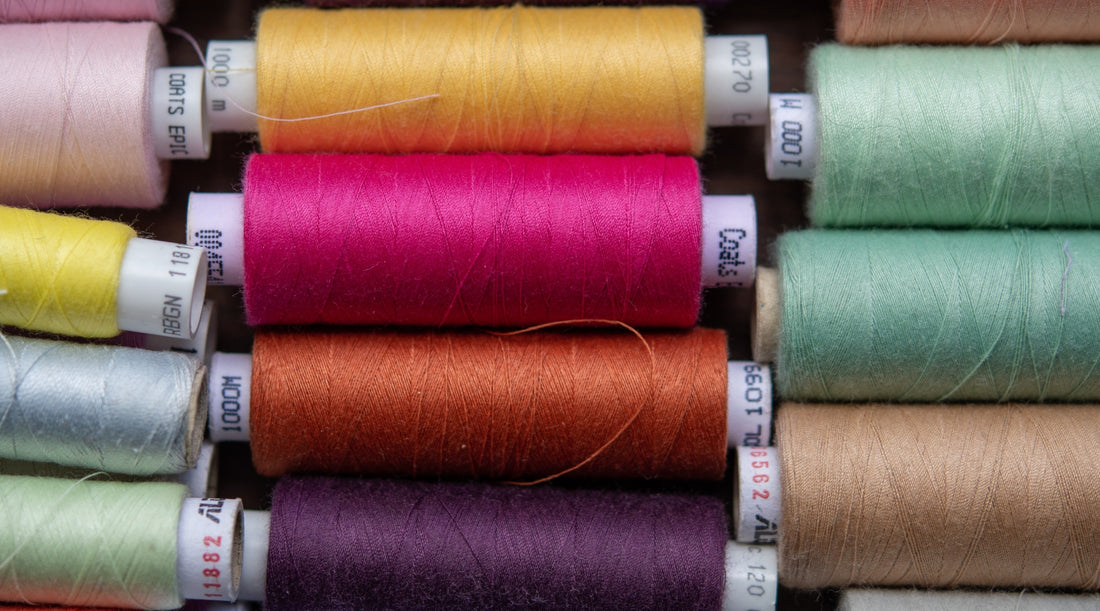
- Thread
- Scissors
- Pins
- Sewing machine or needle (if sewing by hand)
- Measuring tape
- Pattern or template (you can find free patterns online or create your own)
Step 2: Take Measurements and Prepare the Pattern Measure your waist and hips to determine the appropriate size for your boxer shorts. Use these measurements to adjust the pattern accordingly. You can either create your own pattern by tracing an existing pair of boxer shorts or use a free pattern available online. Cut out the pattern pieces, including the front panel, back panel, and waistband.
Step 3: Cut and Pin the Fabric Place the pattern pieces on your chosen fabric, ensuring the fabric is folded in half with the right sides facing each other. Carefully cut out the fabric pieces according to the pattern. Once cut, pin the front and back panels together along the sides, aligning the edges.
Step 4: Sew the Panels Using a sewing machine or needle and thread, sew along the pinned edges of the front and back panels, creating the side seams. Remember to leave the top open for the waistband. If using a sewing machine, backstitch at the beginning and end to secure the seams.
Step 5: Attach the Waistband Measure the elastic band around your waist, ensuring a comfortable fit. Subtract one inch from this measurement and cut the elastic accordingly. Fold the top edge of the fabric over, creating a casing wide enough to accommodate the elastic. Sew along the folded edge, leaving a small opening to insert the elastic. Attach a safety pin to one end of the elastic and thread it through the casing. Once the elastic is threaded through, overlap the ends and sew them securely. Close the opening.
Step 6: Finishing Touches Turn the boxer shorts right side out and press the seams for a polished look. If desired, you can add decorative details such as a contrasting trim or personalised embroidery.
Step 7: Try on and Adjust Once your boxer shorts are complete, try them on to ensure the fit is comfortable and meets your expectations. Make any necessary adjustments, such as shortening the length or taking in the waist, to achieve the desired fit.
Conclusion: Crafting your own boxer shorts is not only a creative endeavour but also a practical way to personalise your wardrobe. With a few basic materials, some sewing skills, and a dash of imagination, you can create boxer shorts that are tailored to your style and preferences. So, roll up your sleeves, grab your sewing kit, and embark on this delightful DIY journey. Enjoy the satisfaction of wearing handmade garments that showcase your individuality and craftsmanship!